

Few cookies attract attention quite like red velvet cookies. Their rich red color instantly stands out on a dessert table, while their soft texture and delicate cocoa flavor keep people reaching for another bite. They offer the familiar taste of red velvet cake in a simpler, hand-held form that is perfect for everyday baking or special occasions.Like Thumbprint Cookies, they are a popular choice for home bakers looking for an easy yet impressive dessert.
What makes these cookies so appealing is the balance they bring. They are slightly chocolatey without being overwhelming, sweet without feeling heavy, and soft enough to melt in your mouth. Many home bakers enjoy adding white chocolate chips or a cream cheese filling to create an even more memorable treat.
Whether you’re trying homemade red velvet cookies for the first time or looking to improve your current recipe, understanding the ingredients and techniques behind them can make a significant difference. This guide covers everything from their background and baking process to practical tips that help create soft, flavorful cookies with a bakery-style finish.
What Are Red Velvet Cookies?
Red velvet cookies are a variation of the classic red velvet dessert, designed to deliver the same recognizable flavor in cookie form. They are typically made with a small amount of cocoa powder, vanilla extract, butter, sugar, and red food coloring, which gives them their signature appearance.
Unlike traditional chocolate cookies that focus heavily on cocoa, red velvet cookies have a milder chocolate note supported by sweet vanilla flavors. The texture is usually soft and tender, though some recipes are designed to produce extra chewy centers and lightly crisp edges.
Because they are easy to customize, bakers often experiment with ingredients such as white chocolate chunks, cream cheese fillings, chopped nuts, or festive toppings. The result is a cookie that looks impressive, tastes delicious, and works well for both celebrations and everyday treats.

The History Behind Red Velvet Desserts
The story of red velvet desserts dates back more than a century. While the exact origin remains debated, historians believe velvet cakes became popular during the Victorian era. The term “velvet” referred to the cake’s soft and smooth texture.
In the early twentieth century, cocoa powder was commonly used to create a reddish-brown tint when combined with acidic ingredients. Later, food coloring became popular, giving red velvet cake its signature bright appearance.
As baking trends evolved, creative home bakers began adapting the famous cake flavor into cupcakes, brownies, and eventually red velvet cookies. Today, these cookies are widely enjoyed around the world and are especially popular during Valentine’s Day and Christmas celebrations.

Key Features and Benefits of Red Velvet Cookies
Unique Flavor
One reason people love red velvet cookies is their distinctive taste. The combination of vanilla and cocoa creates a balanced flavor that isn’t overly chocolatey.
Attractive Appearance
The bold red color makes these cookies ideal for:
- Holiday cookie trays
- Valentine’s Day gifts
- Birthday celebrations
- Wedding dessert tables
Soft and Chewy Texture
When prepared correctly, chewy red velvet cookies offer the perfect balance between softness and chewiness.
Easy to Customize
These cookies can be modified with:
- White chocolate chips
- Dark chocolate chunks
- Cream cheese filling
- Nuts
- Sprinkles
Beginner-Friendly
Even new bakers can successfully make easy red velvet cookies with basic ingredients and simple techniques.
Ingredients for Homemade Red Velvet Cookies
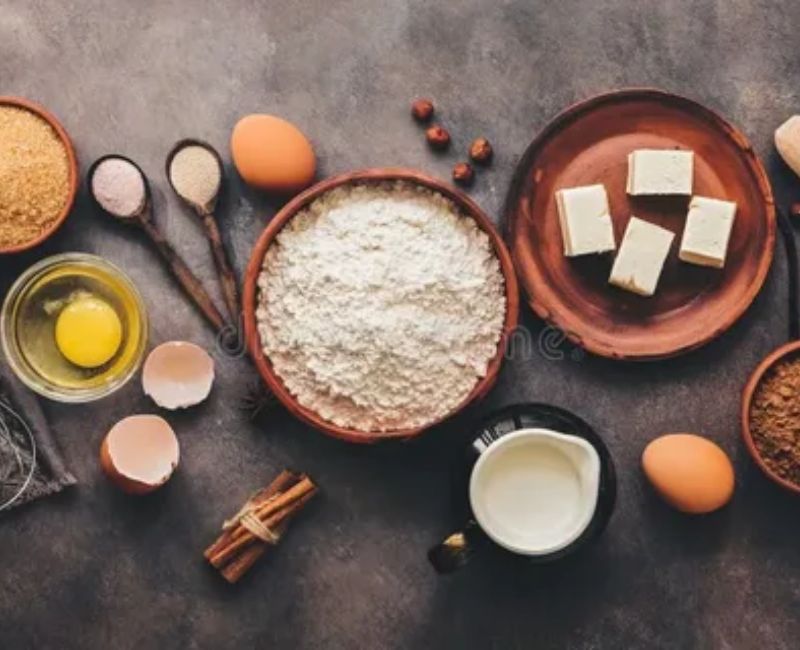
To create delicious homemade red velvet cookies, gather the following ingredients:
Dry Ingredients
- 2¼ cups all-purpose flour
- 2 tablespoons cocoa powder
- 1 teaspoon baking soda
- ½ teaspoon salt
Wet Ingredients
- ¾ cup unsalted butter, softened
- 1 cup brown sugar
- ½ cup granulated sugar
- 2 large eggs
- 2 teaspoons vanilla extract
- 1 tablespoon red food coloring
Optional Mix-Ins
- 1 cup white chocolate chips
- Cream cheese cubes
- Chocolate chunks
Each ingredient plays an important role in creating soft baked cookies with excellent flavor and texture.
Step-by-Step Guide to Making Red Velvet Cookies
Step 1: Prepare the Oven
Preheat your oven to 350°F (175°C).
Line baking sheets with parchment paper.
Step 2: Mix Dry Ingredients
In a medium bowl, combine:
- Flour
- Cocoa powder
- Baking soda
- Salt
Whisk until evenly distributed.
Step 3: Cream Butter and Sugars
In a large mixing bowl, beat:
- Butter
- Brown sugar
- Granulated sugar
Mix until light and fluffy.
Step 4: Add Eggs and Flavoring
Beat in:
- Eggs
- Vanilla extract
- Red food coloring
Continue mixing until fully incorporated.
Step 5: Combine Dry and Wet Mixtures
Add the dry mixture in small portions, mixing gently after each addition until everything comes together into a soft, rich cookie dough.
Mix only until combined.
Once the dough looks evenly mixed, stop stirring and move on to the next step. Keeping the mixing to a minimum helps the cookies stay soft and tender after baking.
Step 6: Add Mix-Ins
Fold in:
- White chocolate chips
- Cream cheese pieces
- Other desired add-ins
Step 7: Chill the Dough
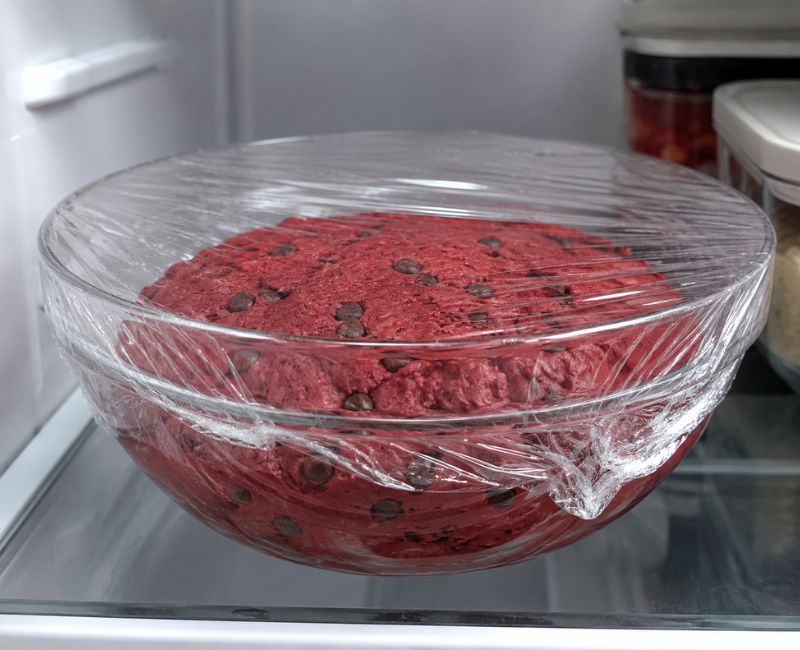
Once the dough is ready, cover the bowl and refrigerate it for 30 to 60 minutes. This simple step helps create thicker cookies with a softer, chewier center.
This helps prevent spreading and improves texture.
Step 8: Shape and Bake
Scoop portions of the chilled dough onto the prepared baking sheet, leaving about two inches of space between each one. Bake for 10–12 minutes, or until the edges are set and the centers still look slightly soft.
The centers should appear slightly underbaked.
Step 9: Cool Properly
Let the cookies rest on the baking sheet briefly before transferring them to a wire rack.
This helps maintain their soft texture.

Why Chilling Cookie Dough Matters
Many bakers skip this step, but chilling offers several benefits:
- Reduces spreading
- Enhances flavor
- Creates thicker cookies
- Improves chewiness
If you’re aiming for chewy red velvet cookies, chilling is highly recommended.
Common Mistakes to Avoid
Using Too Much Flour
Excess flour creates dry cookies.
Being precise with the flour helps ensure the cookies stay soft and don’t turn out overly dry
Overbaking
The cookies will continue to set as they cool, so there’s no need to wait until they look completely done in the oven.
For the best texture, remove the cookies once the edges are set and the centers still appear slightly underbaked
Overmixing the Dough
Keeping the mixing to a minimum helps preserve the soft, tender texture of the finished cookies.
Skipping the Chilling Process
Warm dough spreads excessively and may produce thin cookies.
Using Old Baking Soda
Using fresh baking soda helps the cookies bake up with a lighter texture and a more appealing shape.
Expert Tips for Perfect Red Velvet Cookies
Use Room Temperature Ingredients
Butter and eggs blend more smoothly and create a better cookie structure.
Choose Quality Cocoa Powder
Since red velvet relies on a mild chocolate flavor, quality cocoa powder makes a noticeable difference.
Add White Chocolate
White chocolate complements the subtle cocoa flavor beautifully.
Don’t Overcrowd Baking Sheets
Give cookies enough space to spread evenly.
Rotate Baking Trays
This ensures even baking throughout the batch.
Creative Variations of Red Velvet Cookies
Red Velvet White Chocolate Cookies
Add white chocolate chips for extra sweetness and creaminess.
Cream Cheese Stuffed Cookies
Place a small cube of cream cheese inside each dough ball before baking.
Red Velvet Sandwich Cookies
Fill two cookies with cream cheese frosting.Bakers who enjoy creative cookie recipes often also make Thumbprint Cookies for their colorful fillings and simple preparation.
Red Velvet Crinkle Cookies
Roll dough in powdered sugar before baking for a dramatic crinkled appearance.
Gluten-Free Version
Use a high-quality gluten-free flour blend designed for baking.

Best Occasions for Serving Red Velvet Cookies
These cookies are ideal for:
- Valentine’s Day
- Christmas
- Birthday parties
- Bake sales
- School events
- Wedding dessert tables
- Family gatherings
Their festive color makes them especially popular during seasonal celebrations.

How to Store Red Velvet Cookies
Room Temperature
Store in an airtight container for up to five days.
Refrigeration
Store cream cheese-filled cookies in the refrigerator.
Freezing
Freeze baked cookies for up to three months.
Allow them to thaw at room temperature before serving.
Nutritional Considerations
While red velvet cookies are a dessert, portion control can help maintain balance.
Ways to lighten the recipe include:
- Reducing sugar slightly
- Using smaller cookie portions
- Replacing part of the butter with applesauce
Remember that moderation is key when enjoying sweet treats.
Frequently Asked Questions
1. What makes red velvet cookies different from chocolate cookies?
Red velvet cookies contain less cocoa powder and often feature vanilla and red food coloring, creating a unique flavor profile.
2. Why are my red velvet cookies dry?
Too much flour or overbaking is usually the cause.
3. Can I make red velvet cookies without food coloring?
Yes. The flavor remains similar, though the signature red color will be absent.
4. Can I freeze the cookie dough?
Yes. Properly wrapped dough can be frozen for up to three months.
5. What type of cocoa powder works best?
Natural unsweetened cocoa powder is commonly used.
6. Why did my cookies spread too much?
Warm dough, melted butter, or insufficient flour may cause spreading.
7. Can I use gel food coloring?
Yes. Gel coloring often provides a more vibrant red color.
8. Are red velvet cookies suitable for holidays?
Absolutely. Their bright color makes them perfect for festive occasions.
9. Can I add cream cheese frosting?
Yes. Cream cheese frosting pairs exceptionally well with red velvet flavors.
10. How do I keep cookies soft for several days?
Store them in an airtight container with a slice of bread to help retain moisture.
Conclusion
A batch of freshly baked red velvet cookies can turn an ordinary day into something a little more special. Their vibrant appearance, soft texture, and balanced flavor make them a favorite among both beginner and experienced bakers. Whether you prefer them plain, filled with cream cheese, or packed with white chocolate chips, these cookies are easy to adapt to your personal taste.If you enjoy baking classic homemade cookies, you may also love trying Thumbprint Cookies, which are known for their buttery texture and delicious jam-filled centers. Once you’ve mastered the basic recipe, you’ll find countless ways to make it your own while enjoying a homemade dessert that feels both classic and unique.