
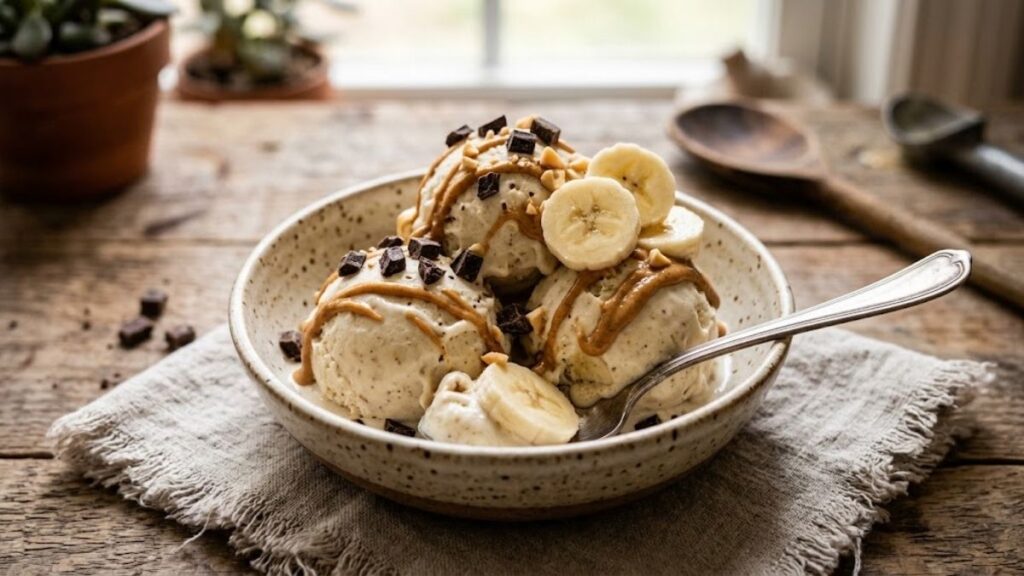
Some flavor combinations simply make sense together, and banana, peanut butter, and chocolate are a perfect example. When those three ingredients come together in a creamy frozen dessert, you get the rich and comforting flavor of Fat Elvis Ice Cream.
This homemade version is especially convenient because it uses a no-churn method. You don’t need an ice cream maker or complicated custard base to prepare it. Instead, a creamy mixture of sweetened condensed milk, banana, and vanilla is combined with whipped cream before peanut butter and chocolate are folded in.
The result is a rich ice cream with sweet banana flavor, nutty peanut butter, and little bites of chocolate throughout. It’s an excellent choice when you want something homemade but don’t want to spend hours working over a traditional ice cream base.
Peanut butter brings a roasted, nutty richness, making this flavor similar to a classic peanut butter ice cream recipe while adding banana and chocolate.
What Is Fat Elvis Ice Cream?
Fat Elvis Ice Cream is a dessert inspired by the familiar combination of banana and peanut butter, with chocolate added for extra richness. The flavor profile is sweet, nutty, creamy, and chocolatey, making it a satisfying homemade frozen dessert.
Unlike traditional churned ice cream, a no-churn version can be prepared without an ice cream machine. The combination of whipped heavy cream and sweetened condensed milk creates the creamy base, while ripe banana, peanut butter, and chocolate give the dessert its signature character.
Why This Flavor Combination Works
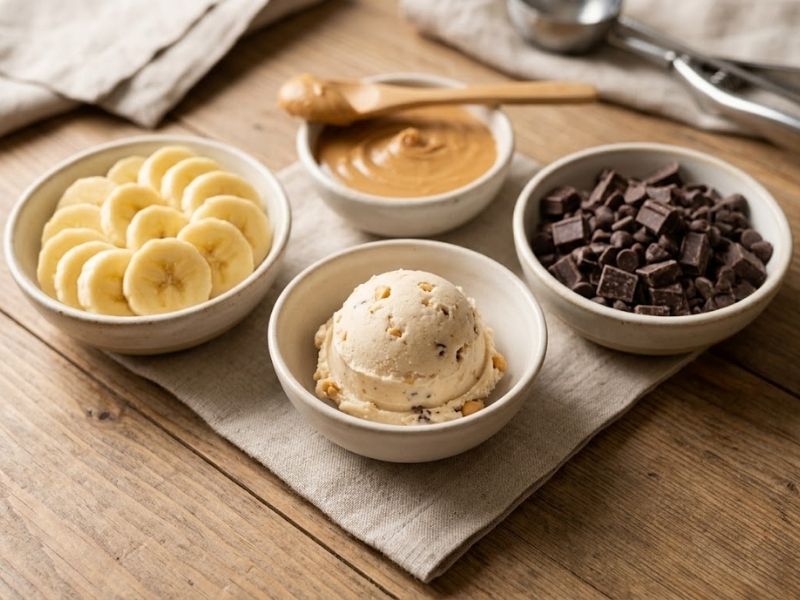
Banana provides natural sweetness and a mellow fruit flavor that works particularly well with rich ingredients. Using ripe bananas also gives the ice cream a stronger banana character without needing a large amount of additional flavoring.
Peanut butter brings a roasted, nutty richness. Its slightly salty taste helps balance the sweetness of the banana and condensed milk.
Chocolate completes the combination with a deeper flavor and a little contrast in texture. Semi-sweet chocolate is particularly useful because it adds richness without making the entire dessert overwhelmingly sweet.
Together, these ingredients create a balanced frozen dessert where each flavor has a clear role. Fat Elvis Ice Cream brings all three flavors together in a creamy, satisfying dessert.
Ingredients You’ll Need
The ingredients for Fat Elvis Ice Cream are simple and easy to find.
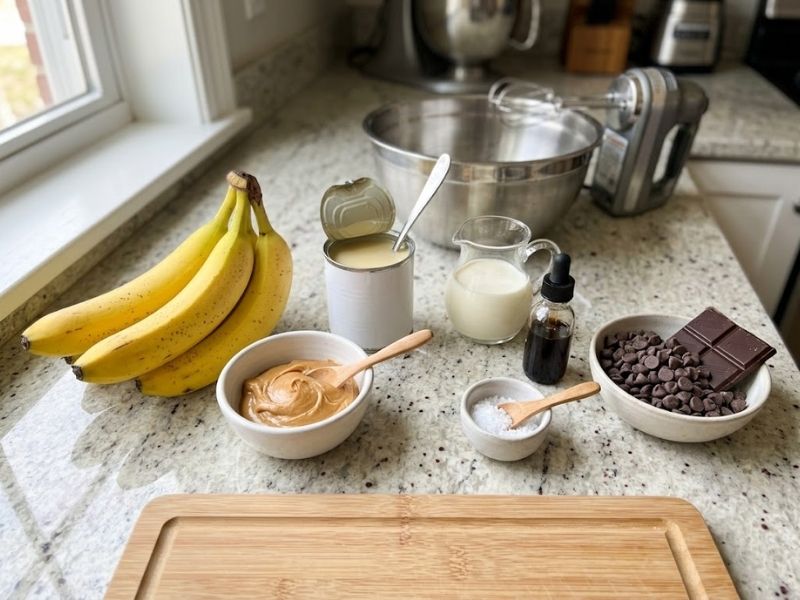
Ripe Bananas
Use ripe bananas with plenty of natural sweetness. Mash or puree them until mostly smooth so they blend easily into the ice cream base.
Use ripe bananas with plenty of natural sweetness, similar to what you would use in a simple banana ice cream.
Creamy Peanut Butter
Creamy peanut butter gives the ice cream its characteristic nutty flavor. If your peanut butter is very thick, allow it to soften slightly before working with it.
Sweetened Condensed Milk
Sweetened condensed milk provides sweetness and contributes to the smooth texture of this no-churn ice cream. It also eliminates the need to prepare a traditional cooked custard.
Heavy Whipping Cream
Cold heavy whipping cream is essential for creating the airy structure of the no-churn base. Whip it until stiff peaks form before folding it into the other ingredients.
Vanilla Extract and Salt
A little vanilla rounds out the flavors, while a small amount of salt helps balance the sweetness.
Semi-Sweet Chocolate
Chocolate chips, small chunks, or finely chopped chocolate can all work. Semi-sweet chocolate gives a pleasant contrast to the sweet banana and condensed milk.
Recipe at a Glance
| Details | Information |
| Prep Time | 15 minutes |
| Freezing Time | 4–6 hours |
| Total Time | About 4–6 hours |
| Method | No-Churn |
| Yield | About 6 servings |
| Difficulty | Easy |
| Best Served | Slightly softened |
This quick overview gives you a simple idea of what to expect before you start making the ice cream.
How to Make Fat Elvis Ice Cream
Making Fat Elvis Ice Cream is simple when you prepare each ingredient first.
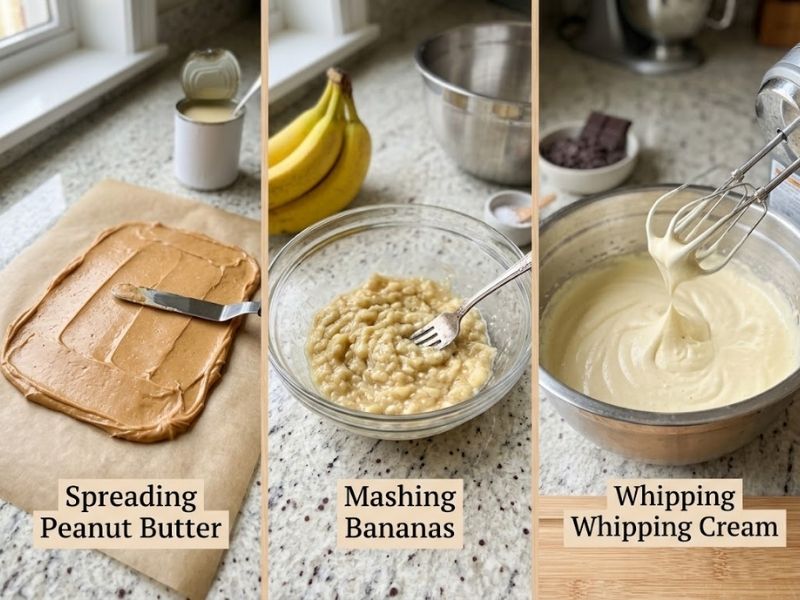
1. Prepare the Peanut Butter
Line a small baking sheet or tray with parchment paper. Spread the peanut butter into a thin layer and place it in the freezer until firm.
Once frozen, cut it into small pieces. Keeping these pieces small makes them easier to distribute throughout the ice cream.
If you prefer a simpler method, peanut butter baking chips can be used instead.
2. Prepare the Banana Base
Puree or mash the ripe bananas until smooth. Combine the banana with sweetened condensed milk, vanilla extract, and salt in a large bowl.
Stir until the mixture is evenly combined. Set it aside while you prepare the whipped cream.
3. Whip the Cream
Pour cold heavy whipping cream into a separate bowl. Using a mixer, whip the cream until stiff peaks form.
The cream should hold its shape when the beaters are lifted. Avoid overmixing, as the goal is a thick, airy whipped cream rather than a grainy mixture.
4. Combine the Ice Cream Base
Gently fold the whipped cream into the banana and condensed milk mixture.
Use a spatula and work slowly. Folding instead of vigorously stirring helps preserve the air incorporated into the whipped cream, which contributes to the final texture.
5. Add the Peanut Butter and Chocolate
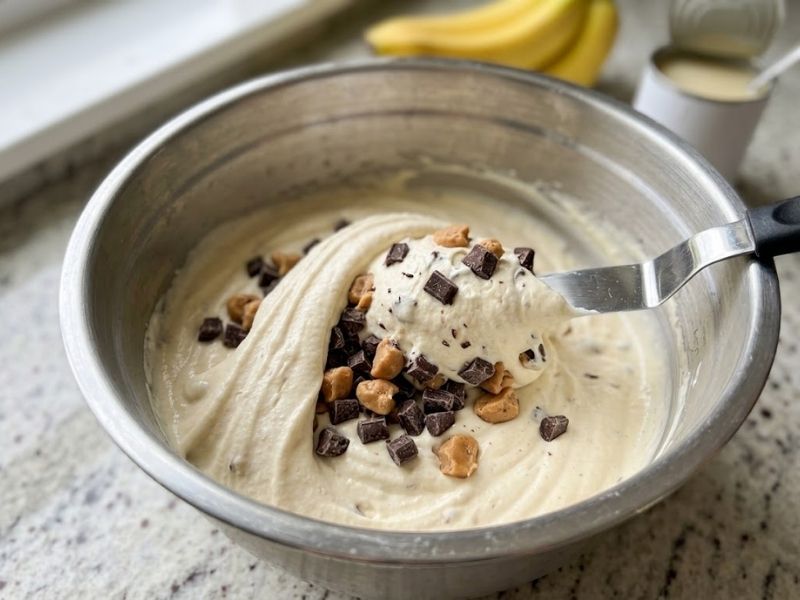
Fold the frozen peanut butter pieces and chocolate chips or chunks into the mixture.
Distribute the add-ins evenly without overmixing. You want small pockets of peanut butter and chocolate throughout the ice cream rather than completely blending everything into one uniform mixture.
6. Freeze the Ice Cream
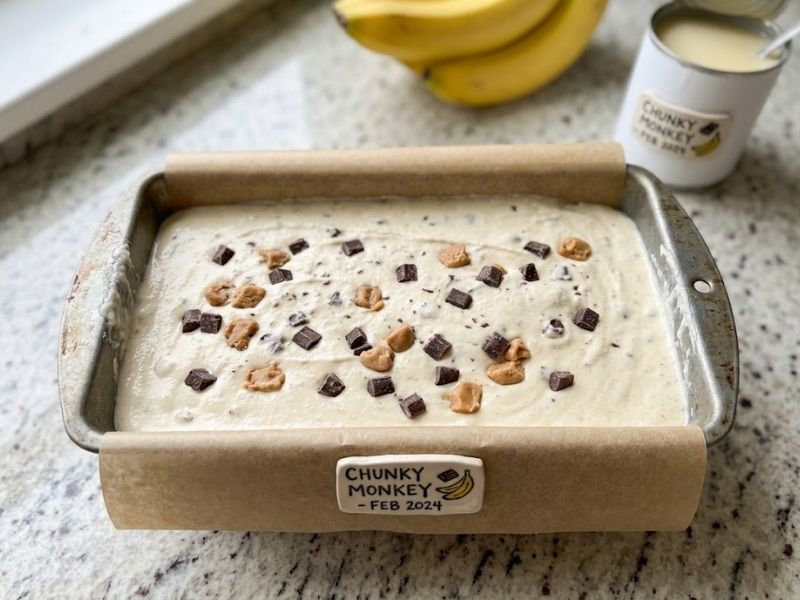
Transfer the mixture into a freezer-safe container or loaf pan. Smooth the surface and cover it securely.
Freeze until firm, preferably for several hours or overnight. The exact freezing time can vary depending on your freezer and the depth of the container.
7. Let It Soften Before Serving
When you’re ready to serve, allow the container to sit at room temperature for a few minutes if the ice cream feels too firm.
This short resting period can make scooping easier while still keeping the dessert cold and creamy.
Expert Tips for Creamy Homemade Ice Cream
Use ripe bananas. Bananas that are naturally sweet and ripe provide better flavor than underripe fruit.
Keep the whipping cream cold. Cold cream generally whips more effectively and helps create the airy structure needed for a no-churn ice cream.
Don’t overmix. Once the whipped cream is incorporated, fold gently. Excessive stirring can reduce some of the airiness.
Keep add-ins relatively small. Small chocolate and peanut butter pieces distribute more evenly and are easier to scoop.
Protect the surface. Cover the ice cream well before freezing. Limiting exposure to air helps protect the texture and surface from unwanted freezer effects.
Give it a few minutes before scooping. Homemade ice cream can become quite firm in a cold freezer. A brief rest at room temperature can make serving much easier.
Common Mistakes to Avoid
Even a simple no-churn ice cream can turn out differently if a few small details are missed. Keep these common mistakes in mind:
- Using underripe bananas: They won’t provide the same natural sweetness or strong banana flavor as ripe bananas.
- Overmixing the whipped cream: Fold it gently into the base to help keep the mixture light and creamy.
- Adding large chocolate pieces: Very large chunks can make the ice cream harder to scoop and less enjoyable to eat.
- Skipping proper covering: Always cover the container well before freezing to help protect the ice cream from freezer air.
- Serving it straight from the freezer: If it’s too firm, let it sit for a few minutes before scooping.
Easy Variations and Topping Ideas
You can easily customize Fat Elvis Ice Cream with your favorite toppings.
One of the best things about this flavor is how easily it can be customized. For a stronger peanut butter flavor, add a little extra peanut butter as a swirl instead of mixing all of it directly into the base.
If chocolate is your favorite part, use chopped semi-sweet or dark chocolate for a more pronounced chocolate flavor.
If chocolate is your favorite part, use chopped semi-sweet or dark chocolate for a deeper flavor, similar to a classic chocolate ice cream recipe.
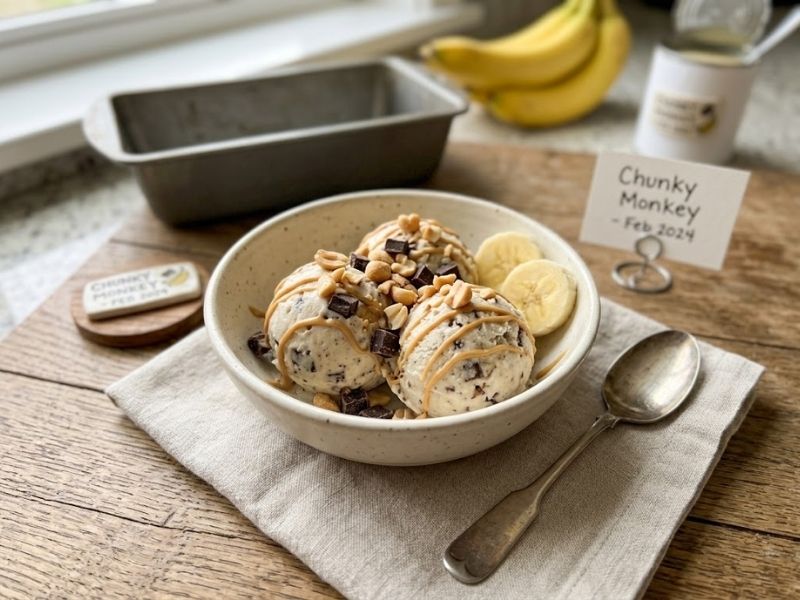
For extra crunch, sprinkle chopped roasted peanuts over each serving. You can also add a light drizzle of peanut butter or chocolate sauce immediately before serving.
A small amount of jam can also introduce another layer of sweetness and fruit flavor. If using additional mix-ins, keep them modest so they don’t overpower the banana and peanut butter combination.
How to Store Fat Elvis Ice Cream
Transfer the finished ice cream to an airtight, freezer-safe container and keep it properly covered.
Pressing parchment or wax paper directly against the surface before sealing the container can provide an additional layer of protection against air exposure.
Keep the container in a consistently cold part of the freezer rather than repeatedly moving it in and out. For the best texture and flavor, homemade ice cream is generally better enjoyed while it is still fresh.
If it becomes too firm to scoop, allow it to sit at room temperature for a few minutes before serving. Proper storage helps keep Fat Elvis Ice Cream fresh and creamy.
Frequently Asked Questions
1. What is Fat Elvis Ice Cream made of?
It combines banana, peanut butter, and chocolate with a creamy no-churn ice cream base.
2. Can I make Fat Elvis Ice Cream without an ice cream maker?
Yes. This no-churn version can be made without an ice cream maker using whipped cream and sweetened condensed milk.
3. Can I use natural peanut butter?
Yes, but stir it well first if the oil has separated. Smooth peanut butter mixes more easily.
4. Can I add chocolate chips or chocolate chunks?
Yes. Both work well. Semi-sweet chocolate adds a nice contrast to the sweet banana and peanut butter.
5. How should I store Fat Elvis Ice Cream?
Keep it covered in an airtight, freezer-safe container. Let it sit for a few minutes before scooping if it becomes too firm.
Conclusion
Fat Elvis Ice Cream brings together three flavors that naturally complement one another: sweet banana, creamy peanut butter, and rich chocolate. The no-churn method makes the recipe especially approachable because you can prepare a creamy homemade dessert without an ice cream maker.
With ripe bananas, cold whipped cream, and a few well-chosen mix-ins, you can create a frozen treat that’s easy to customize with extra chocolate, peanut butter swirls, or crunchy toppings. Prepare a batch, let it freeze until firm, and give it a few minutes to soften before scooping for the best serving texture.