
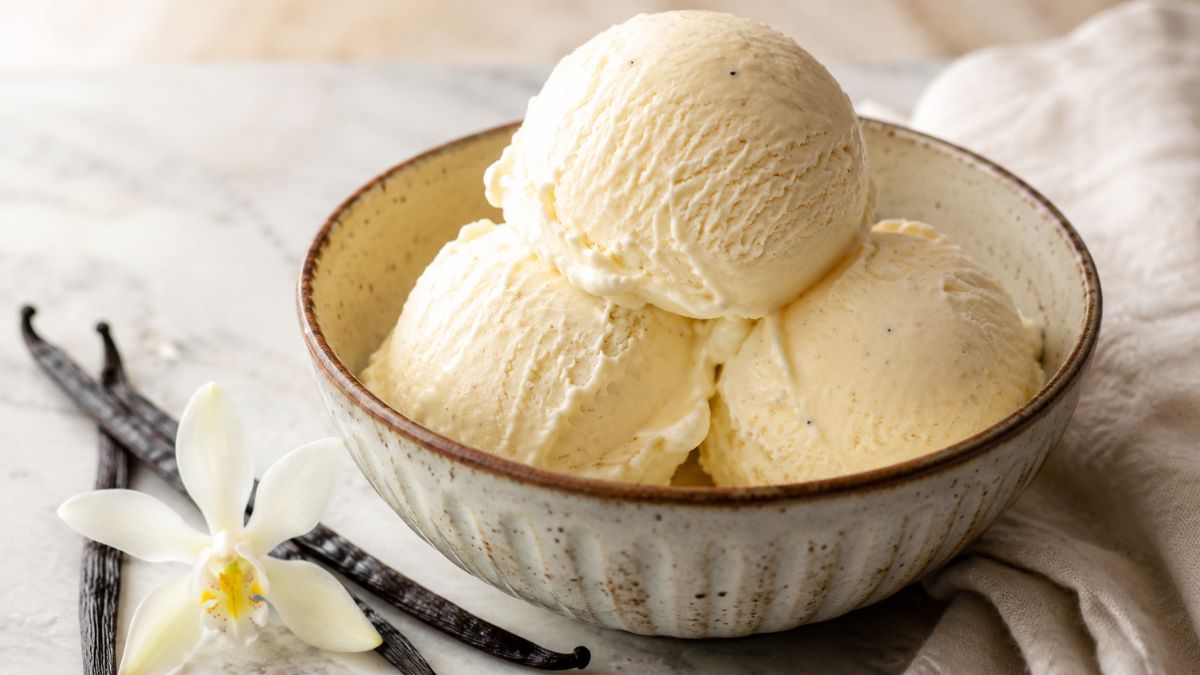
There is a reason vanilla ice cream has remained a favorite for generations. Its simple flavor is comforting, familiar, and easy to pair with almost anything, from warm brownies and fruit pies to freshly baked cookies. While store-bought versions are convenient, making vanilla ice cream at home gives you control over the ingredients and lets you create a noticeably fresh, creamy dessert.
This homemade vanilla ice cream recipe uses a rich custard base made with heavy cream, whole milk, egg yolks, sugar, and vanilla. The process is straightforward, although it does require a little patience while the custard cools and the ice cream freezes. Once finished, you’ll have a smooth, scoopable dessert with a rich vanilla flavor that’s delicious on its own or served alongside your favorite desserts. This vanilla ice cream is also easy to pair with cakes, cookies, pies, and other homemade desserts.
Why You’ll Love This Vanilla Ice Cream
This is the kind of homemade dessert that is simple enough for a relaxed weekend but special enough to serve when you’re having guests. The classic vanilla flavor also makes it incredibly versatile.
If you like trying different homemade ice cream flavors, coconut ice cream is a simple option with a creamy tropical flavor.
- Rich and creamy: Heavy cream and egg yolks create a smooth, satisfying texture.
- Classic flavor: Vanilla stays at the center of the recipe without being overwhelmed by other ingredients.
- Easy to customize: Add chocolate chips, cookie pieces, nuts, caramel, or fresh fruit if you want to change things up.
- Great with other desserts: A scoop works beautifully with brownies, cakes, pies, crisps, and cookies.
- Make-ahead friendly: Once prepared, the ice cream can be kept in the freezer and served whenever you need a quick dessert.
- No complicated ingredients: Most of what you need is easy to find at a regular grocery store.
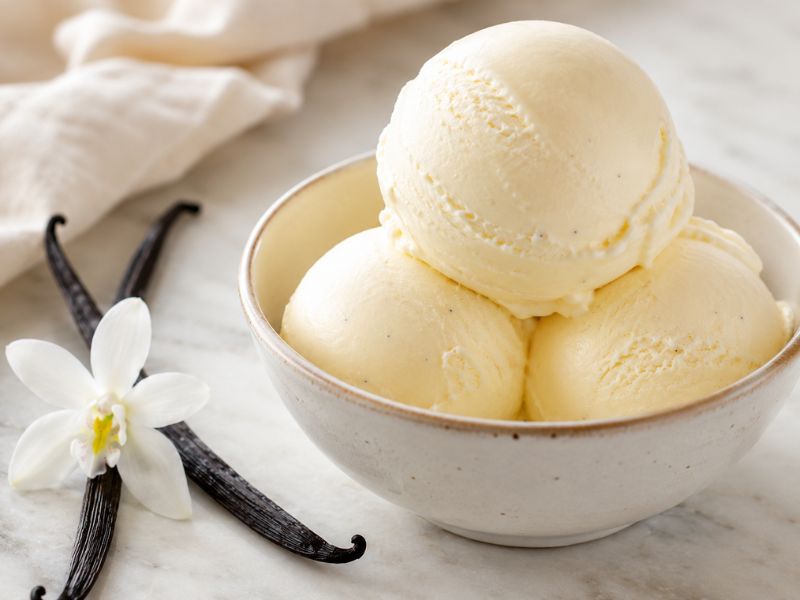
Recipe Overview
This classic vanilla ice cream has a rich, creamy texture and a smooth vanilla flavor. The base is gently cooked to create a custard, chilled thoroughly, and then churned before being frozen until firm.
- Prep time: 20 minutes
- Cook time: 10 minutes
- Chilling time: 4–6 hours
- Churning time: 20–30 minutes
- Freezing time: 3–4 hours
- Total time: About 8 hours
- Servings: Approximately 6
- Difficulty: Intermediate
- Equipment: Ice cream maker recommended
Vanilla Ice Cream Ingredients
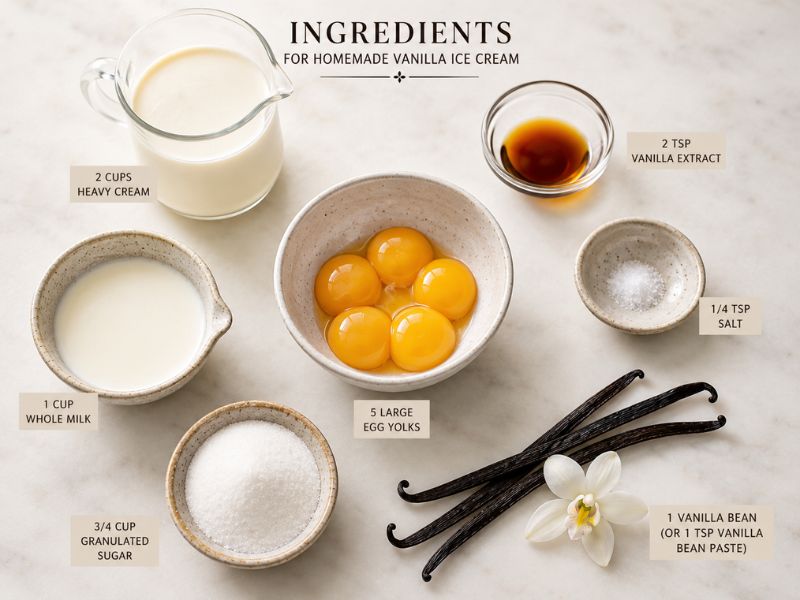
One of the best things about homemade vanilla ice cream is that the ingredient list is fairly short. Because there aren’t many competing flavors, each ingredient has an important role in the final texture and taste. That balance is what gives this vanilla ice cream its smooth texture and familiar flavor.
Heavy Cream
Heavy cream gives the ice cream its richness and helps create that soft, creamy texture. It also gives the finished dessert a fuller mouthfeel than milk alone would provide.
Whole Milk
Whole milk balances the richness of the cream while keeping the ice cream base smooth. Using full-fat milk is helpful when you want a creamy homemade dessert rather than a lighter, icy texture.
Egg Yolks
Egg yolks thicken the custard and contribute to its silky consistency. They also help give the ice cream a richer texture once it has been frozen.
Granulated Sugar
Sugar provides sweetness, but it also affects the texture of frozen desserts. It helps keep the ice cream from becoming excessively hard when frozen.
Vanilla Extract or Vanilla Bean
Vanilla is the main flavor, so choose a good-quality extract, vanilla bean paste, or vanilla bean if available. Vanilla beans add tiny dark specks throughout the ice cream and provide an especially rich aroma.
Salt
A small pinch of salt balances the sweetness and helps the vanilla flavor stand out. You won’t taste the salt itself when the right amount is used.
How to Make Vanilla Ice Cream
1. Warm the Milk and Cream
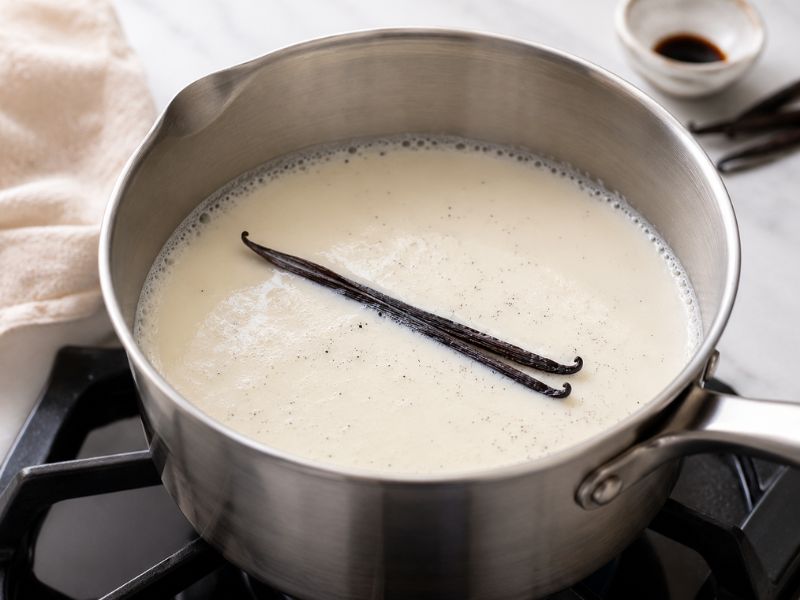
Pour the heavy cream and whole milk into a medium saucepan. Add about half of the sugar and the salt.
Warm the mixture over medium-low heat, stirring occasionally until the sugar has dissolved and the dairy is hot and steamy. You don’t need to bring it to a rolling boil.
If you’re using a vanilla bean, slice it open lengthwise and gently scrape out the tiny seeds inside. Add both the seeds and pod to the warm dairy so the vanilla can infuse into the mixture.
2. Whisk the Egg Yolks
Place the egg yolks in a separate bowl and add the remaining sugar. Whisk until the mixture is smooth and slightly lighter in color.
Don’t leave the egg yolks sitting with the sugar for too long without whisking, as the sugar can affect the texture of the yolks.
3. Temper the Eggs
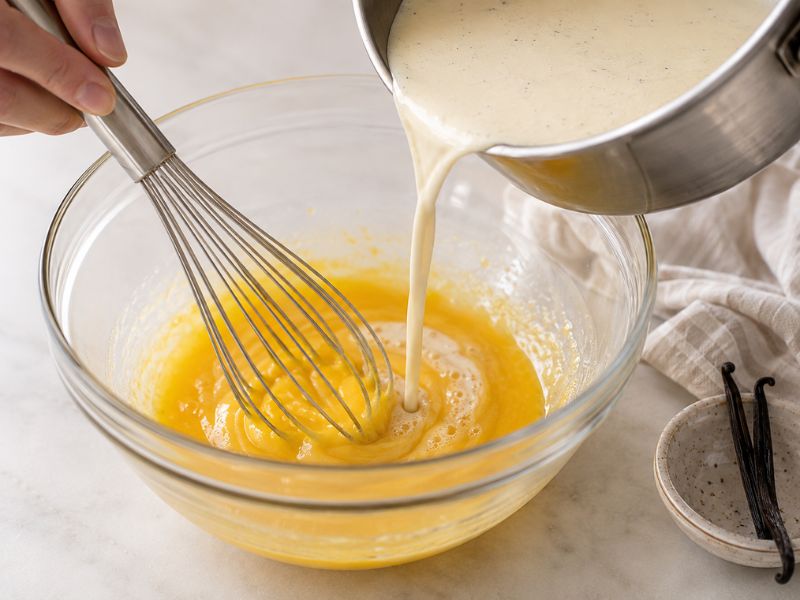
This step is especially important for getting the custard just right.
Slowly pour a small amount of the hot cream and milk mixture into the egg yolks while whisking constantly. Continue adding the warm dairy gradually until the egg mixture has warmed up.
Pour the mixture back into the saucepan while continuing to stir.
Adding the hot dairy slowly rather than all at once helps prevent the egg yolks from cooking too quickly.
4. Cook the Custard
Place the saucepan over low heat and stir continuously with a wooden spoon or heat-resistant spatula.
Keep stirring as it cooks, and you’ll notice the mixture slowly thickening. The finished custard should lightly coat the back of a spoon.
If you’re using a kitchen thermometer, aim for approximately 170–175°F. Avoid boiling the custard because excessive heat can cause the egg yolks to curdle.
Once the custard has thickened, remove it from the heat.
5. Add the Vanilla
If you’re using vanilla extract or vanilla bean paste, stir it into the custard after removing the saucepan from the heat.
If you used a vanilla bean, remove the pod. The tiny vanilla seeds can remain in the mixture and will give the finished ice cream a beautiful appearance.
6. Strain and Cool the Base
Pour the custard through a fine-mesh strainer into a clean bowl. This catches any tiny pieces of cooked egg and gives you a smoother ice cream base.
Place the bowl over an ice bath and stir occasionally as the mixture cools.
Once it is no longer warm, cover the bowl and refrigerate it until completely chilled. Ideally, allow several hours for the base to become thoroughly cold.
7. Churn the Ice Cream
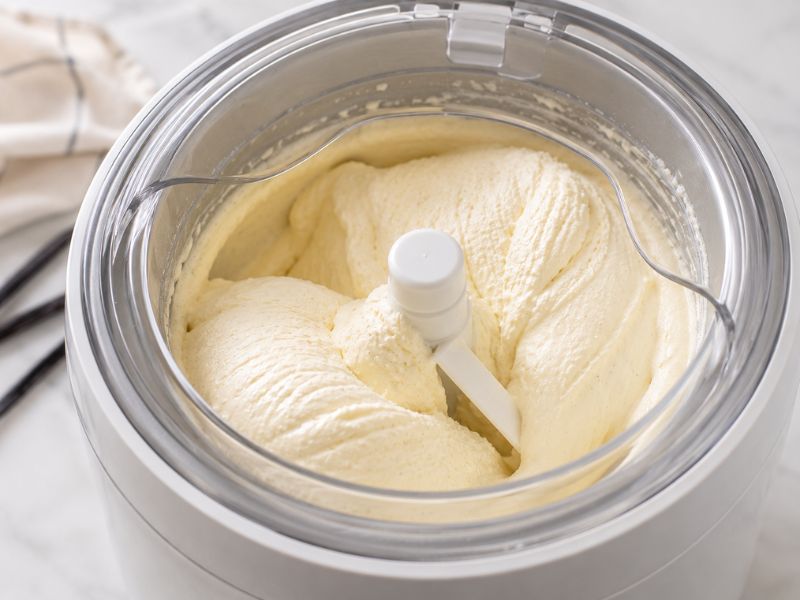
Pour the chilled ice cream base into your ice cream maker and churn according to the manufacturer’s instructions. As it churns, the vanilla ice cream will become thicker and lighter, developing the texture you want before freezing.
The mixture will gradually become thicker as air is incorporated and the base freezes. When it reaches a soft-serve-like consistency, it is ready for the next step.
Transfer the freshly churned ice cream to a freezer-safe container.
8. Freeze Until Firm
Cover the container tightly and place it in the freezer.
Allow the ice cream to freeze for several hours until it has reached a firm, scoopable texture.
If the ice cream becomes very hard, let it sit at room temperature for a few minutes before serving.
Tips for Creamy Vanilla Ice Cream
Getting a smooth texture at home is mostly about paying attention to a few small details.
If you enjoy making homemade frozen desserts, peach ice cream is another great recipe to try when you want a fresh fruit flavor.
- Chill the base completely: A cold custard freezes more efficiently during churning.
- Keep the heat low: Gentle cooking helps prevent the egg yolks from scrambling.
- Don’t skip straining: Straining removes tiny cooked pieces and creates a smoother base.
- Use quality vanilla: Since vanilla is the main flavor, a good extract or vanilla bean can make a noticeable difference.
- Don’t overfill your ice cream maker: The mixture needs room to expand and churn properly.
- Use a freezer-safe container: A well-sealed container helps protect the ice cream from excess air and ice crystals.
- Avoid repeated thawing and refreezing: Temperature changes can make the texture less smooth.
Vanilla Ice Cream Without an Ice Cream Maker
You don’t necessarily need an ice cream maker to enjoy homemade vanilla ice cream. The process simply requires a little more attention while the mixture freezes.
After the custard has been thoroughly chilled, pour it into a shallow freezer-safe container. Place it in the freezer for about 30–45 minutes, then remove it and stir or whisk thoroughly.
Return the container to the freezer and repeat the process as the mixture begins to freeze. Regular stirring helps break up larger ice crystals and can improve the final texture.
Continue until the ice cream is thick and firm enough to scoop. This method won’t be quite as effortless as using an ice cream maker, but it is a useful option when you don’t have one available.
Serving Suggestions
Vanilla ice cream is one of the easiest desserts to serve because its mild flavor works with so many different foods.
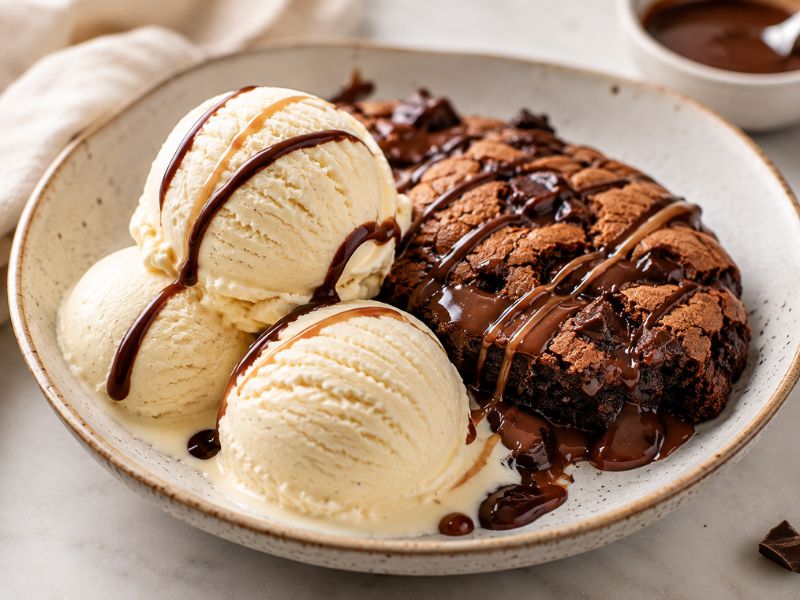
For a simple bowl, add a drizzle of chocolate or caramel sauce and a few chopped nuts. Fresh berries also add a pleasant contrast to the rich, creamy ice cream.
You can also serve it with a scoop of chocolate ice cream when you want an extra-rich chocolate dessert.
You can also serve a scoop alongside warm desserts. Some especially good combinations include:
- Warm brownies
- Apple or peach pie
- Chocolate cake
- Fruit crumble
- Freshly baked cookies
- Chocolate chip cookies
- Waffles or pancakes
- Grilled peaches or bananas
The contrast between something warm and freshly baked and a cold scoop of vanilla ice cream makes an especially satisfying dessert.
Storage Tips
Once the ice cream has finished churning, transfer it to a clean freezer-safe container with a tight-fitting lid.
For better storage:
- Keep the container tightly sealed.
- Cover the surface to reduce exposure to air.
- Store it toward the back of the freezer where temperatures are more stable.
- Avoid leaving the container out on the counter for extended periods.
- Use a shallow container if you want the ice cream to be easier to scoop.
- Minimize repeated melting and refreezing.
If the ice cream is too firm straight from the freezer, allow it to sit at room temperature for a few minutes before scooping. This is usually enough to make it easier to serve without allowing it to melt significantly.
Common Mistakes to Avoid
Cooking the Custard Too Fast
High heat can cause the egg yolks to cook too quickly. Keep the temperature low and stir continuously as the custard thickens.
Adding the Hot Dairy Too Quickly
Pouring hot milk and cream directly into the egg yolks can cause them to scramble. Temper the eggs gradually while whisking.
Skipping the Cooling Time
Trying to churn a warm ice cream base can interfere with the freezing process. Make sure the custard is completely chilled before putting it into the ice cream maker.
Not Straining the Custard
Even careful cooking can leave behind tiny bits of egg. A fine-mesh strainer takes only a moment and can make the finished ice cream noticeably smoother.
Leaving the Ice Cream Uncovered
Air exposure can encourage ice crystals to form. Keep the container tightly covered whenever the ice cream is in the freezer.
Expecting Freshly Churned Ice Cream to Be Firm
Ice cream straight from the machine usually has a soft, scoopable consistency. It needs additional freezer time if you prefer a firmer texture.
FAQs
1. How do you make vanilla ice cream at home?
Prepare a custard using heavy cream, whole milk, egg yolks, sugar, and vanilla. Chill the mixture thoroughly, churn it in an ice cream maker, and then freeze it until firm.
2. Can I make vanilla ice cream without an ice cream maker?
Yes. Freeze the chilled base in a shallow container and stir it regularly as it freezes. This helps break up ice crystals and creates a smoother texture.
3. What makes homemade vanilla ice cream creamy?
Full-fat dairy, egg yolks, sugar, proper chilling, and thorough churning all contribute to a creamy texture. Avoiding excessive heat and protecting the finished ice cream from air also helps.
4. Can I use vanilla extract instead of a vanilla bean?
Absolutely. Vanilla extract is convenient and works very well in a classic recipe. Add it after removing the custard from the heat for a noticeable vanilla flavor.
5. How should homemade vanilla ice cream be stored?
Keep it in a tightly sealed freezer-safe container with the surface protected from air. If it becomes very firm, allow it to sit at room temperature for a few minutes before scooping.
Conclusion
Homemade vanilla ice cream doesn’t need complicated ingredients or elaborate techniques to taste special. Once you get comfortable with the basic method, vanilla ice cream is an easy dessert to make whenever you want something homemade. With a rich custard base, good-quality vanilla, proper chilling, and careful freezing, you can make a smooth and creamy dessert at home. Enjoy it by itself or pair it with warm brownies, cookies, pies, cakes, or fresh fruit whenever you want a classic treat that fits almost any dessert table.

I am an SEO Specialist with 2 years of experience in keyword research, on-page SEO, content optimization, and WordPress SEO. At Desserts Avenue, I focus on creating SEO-friendly content, improving search visibility, and helping readers find valuable dessert recipes and guides through organic search.