

When I make brownie batter ice cream, I want more than just a chocolate flavor. The little pieces of brownie batter add a soft, fudgy bite that makes each spoonful taste a bit like licking the brownie bowl before it goes into the oven. Brownie Batter Ice Cream is a good choice for anyone who enjoys the taste of chocolate brownies in a cold, creamy dessert.
The best part is that you can make this dessert at home with an ice cream machine or use a no-churn method. The key is preparing the brownie batter safely, keeping the mix-ins soft enough to scoop, and giving the ice cream enough time to freeze. Brownie batter ice cream brings homemade chocolate ice cream and soft brownie batter together in one easy dessert. Each scoop has a creamy chocolate base with little pockets of rich, fudgy brownie batter.
Recipe Overview
- Prep time: 25 minutes
- Cook time: 5–10 minutes for heat-treating flour and preparing the batter
- Churning time: 20–30 minutes with an ice cream machine
- Freezing time: 4–6 hours, preferably overnight
- Total time: Approximately 5–7 hours
- Servings: 8
- Difficulty: Easy to moderate
- Flavor: Chocolatey, fudgy, and creamy
What Makes This Ice Cream Special?
With regular chocolate ice cream, the chocolate flavor comes from cocoa powder or melted chocolate, but brownie batter ice cream adds soft, fudgy bites for extra texture. This version adds a separate edible brownie batter mixture, creating a dessert with more depth and a fudgy texture. If you enjoy rich chocolate desserts, try our Chocolate Ice Cream Recipe for another homemade frozen treat.
There are three elements that make the recipe work:
- Creamy ice cream base: Heavy cream and whole milk create a smooth, rich foundation.
- Rich brownie flavor: Cocoa powder, brown sugar, and a splash of vanilla give the batter that deep, fudgy taste you love in homemade brownies.
- Fudgy brownie bites: Little spoonfuls of edible brownie batter add a soft, chewy texture, so there’s no need to bake brownies just for this recipe.
You don’t need chocolate chips or baked brownie pieces for this version. The brownie batter itself brings that familiar chocolatey, fudgy taste to the ice cream. When making Brownie Batter Ice Cream, add more or less brownie mixture depending on how many fudgy bites you want in each serving.
Ingredients You’ll Need
Before preparing Brownie Batter Ice Cream, measure the ingredients for the chocolate base and edible brownie mixture separately.
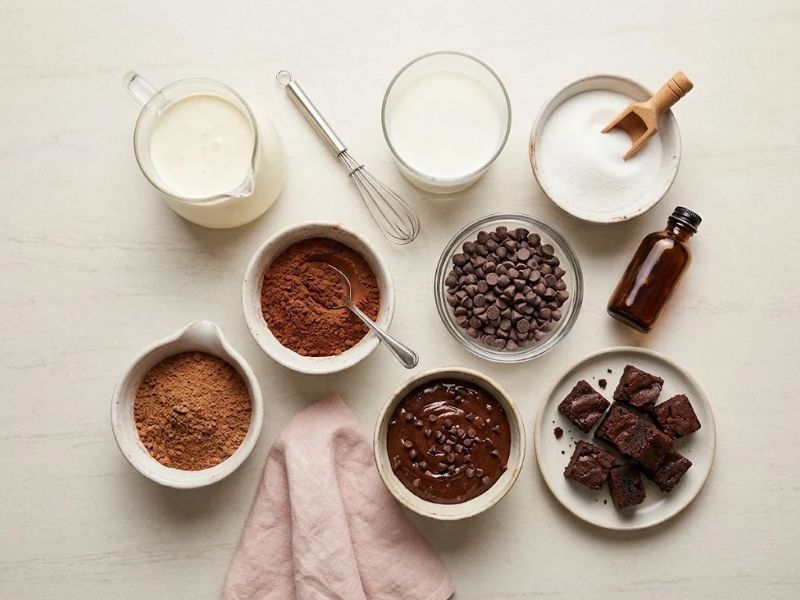
For the Ice Cream Base
| Ingredient | Quantity | Purpose |
| Heavy whipping cream | 2 cups | Creates a rich, creamy texture |
| Whole milk | 1 cup | Helps keep the base smooth and scoopable |
| Granulated sugar | ½ cup | Sweetens the mixture |
| Unsweetened cocoa powder | ¼ cup | Adds chocolate flavor |
| Vanilla extract | 1 teaspoon | Balances the chocolate |
| Fine salt | ⅛ teaspoon | Enhances the overall flavor |
For the Edible Brownie Batter
| Ingredient | Quantity | Purpose |
| All-purpose flour | ½ cup | Provides the brownie batter structure |
| Unsweetened cocoa powder | 3 tablespoons | Adds a deep chocolate taste |
| Brown sugar | ¼ cup | Gives the batter a soft, fudgy quality |
| Unsalted butter, melted | 3 tablespoons | Adds richness |
| Milk | 2–3 tablespoons | Adjusts the consistency |
| Vanilla extract | ½ teaspoon | Adds warmth |
| Fine salt | Small pinch | Balances the sweetness |
| Mini chocolate chips | ¼ cup | Optional chocolatey pieces |
Food safety tip: Flour isn’t safe to eat raw, so heat-treat it before adding it to your brownie batter. This helps reduce the risk of harmful bacteria and makes the batter safer to enjoy without baking. This recipe contains no raw eggs, but omitting eggs alone does not make uncooked flour safe.

How to Prepare the Edible Brownie Batter
The brownie batter should be soft and easy to mix into the ice cream, while still thick enough to form small, fudgy bites.
Step 1: Heat-Treat the Flour
Spread the flour evenly over a baking sheet and place it in an oven preheated to 350°F (175°C). Use a food thermometer to verify that the flour reaches 165°F (74°C) throughout, stirring it during heating to help it warm evenly. Cool completely before using.
Alternatively, use a commercially heat-treated flour labeled for safe use in uncooked recipes and follow its package instructions.
Do not taste the flour before it has been properly treated.
Step 2: Mix the Dry Ingredients
In a medium bowl, combine the cooled flour, cocoa powder, brown sugar, and salt. Break up any lumps of cocoa powder with a whisk or fork.
Mixing the dry ingredients first helps distribute the cocoa and sugar evenly, preventing bitter cocoa pockets or overly sweet spots in the finished batter.
Step 3: Add the Butter and Vanilla
Stir the melted butter and vanilla into the mixture until they’re fully blended. Stir until the mixture starts to resemble damp chocolate crumbs.
Add two tablespoons of milk and mix again. If the mixture is still crumbly, stir in the remaining milk a little at a time until the batter becomes thick, soft, and easy to mix.
Step 4: Chill the Batter
Fold in the mini chocolate chips if using. Cover the bowl and refrigerate for approximately 15–20 minutes.
Once chilled, the batter should be firm enough to handle. Divide it into small pieces with a spoon or your fingers, then refrigerate the pieces until you are ready to assemble the ice cream.
Avoid making large, hard chunks. Small pieces distribute more evenly and are easier to scoop when frozen.
How to Make Brownie Batter Ice Cream
Follow these steps in order for a smooth base and well-distributed brownie batter.
Step 1: Combine the Ice Cream Ingredients
In a large bowl, combine the heavy cream, whole milk, sugar, cocoa powder, vanilla extract, and salt. Stir until the ingredients are well mixed and the cocoa is evenly distributed.
Whisk until the sugar dissolves and the cocoa is evenly distributed. A few small cocoa lumps can be broken up with a whisk or sifted cocoa powder can be used from the beginning.
For a stronger chocolate flavor, use good-quality unsweetened cocoa powder. Dutch-process cocoa can give a darker, smoother chocolate taste, while natural cocoa generally has a sharper chocolate flavor.

Step 2: Chill the Ice Cream Base
Cover the bowl and refrigerate the mixture for at least two hours, or until thoroughly cold.
Chilling the mixture before churning helps it freeze properly and gives the ice cream a creamier, smoother texture. If your machine requires a frozen bowl, make sure it has been frozen according to the manufacturer’s instructions.
Step 3: Churn the Mixture
Pour the cold base into your prepared ice cream machine. Churn according to the manufacturer’s instructions, usually for 20–30 minutes.
The mixture should gradually thicken until it resembles soft-serve ice cream. It may still look softer than store-bought ice cream at this stage; that is normal.

Avoid overfilling the machine. Ice cream expands as air is incorporated, so leave the space recommended by the manufacturer.
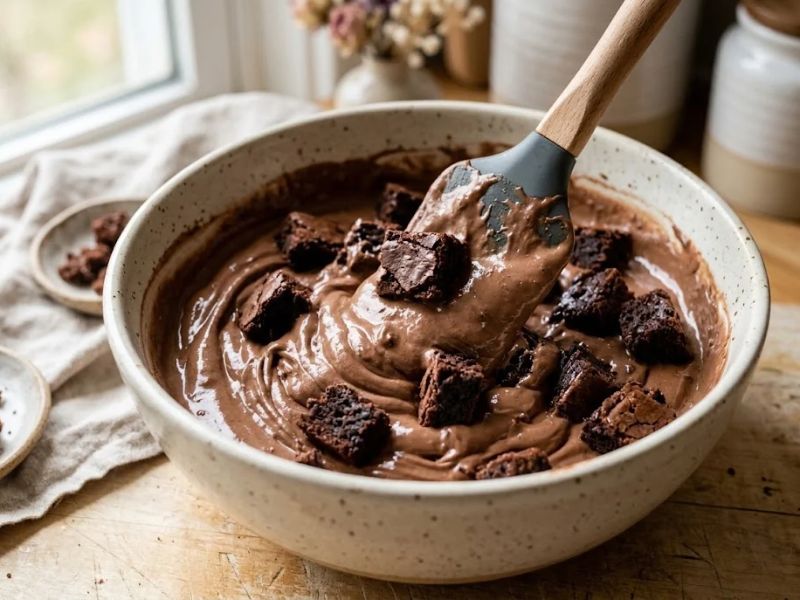
Step 4: Fold in the Brownie Batter
When the ice cream reaches a thick, soft-serve consistency, add most of the chilled brownie batter pieces.
Use a spatula to fold them in gently. Do not blend them into the base because the goal is to keep distinct pieces and fudgy pockets rather than turn the entire mixture into one uniform chocolate paste.
Reserve a few pieces for the final layers.
Step 5: Layer for Fudgy Swirls
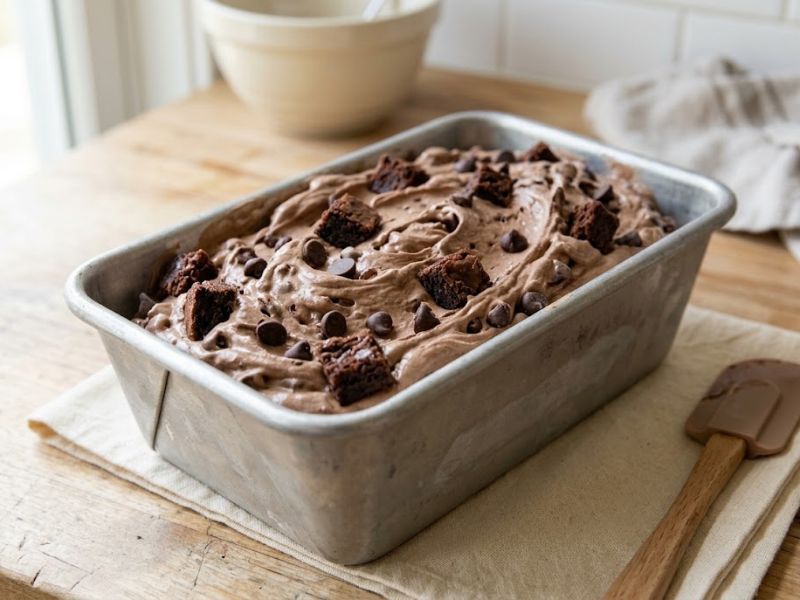
Transfer one-third of the ice cream into a freezer-safe container. Scatter a few reserved brownie batter pieces over the surface.
Repeat with the remaining ice cream, finishing with a few batter pieces on top. If you prefer visible ribbons, gently drag a butter knife through the layers once or twice.
Avoid stirring repeatedly, as too much mixing can eliminate the distinct brownie swirls.
Step 6: Freeze Until Firm
Cover the container tightly and freeze for four to six hours, or until the ice cream is firm enough to scoop. Overnight freezing generally produces a more consistent texture.
Let the container stand at room temperature for approximately five minutes before scooping if the ice cream feels very firm.
Your homemade Brownie Batter Ice Cream is now ready to serve.
No-Churn Method Without an Ice Cream Machine
You can prepare this recipe without specialized equipment, although the texture may be denser than machine-churned ice cream.
- Whip 2 cups of cold heavy cream to medium-stiff peaks.
- In a separate bowl, combine one 14-ounce can of sweetened condensed milk with the cocoa powder, vanilla, and salt. Whisk until smooth.
- Fold the chocolate mixture gently into the whipped cream, keeping as much air in the mixture as possible.
- Fold in the chilled, prepared brownie batter pieces.
- Transfer to a freezer-safe container, add a few extra pieces between layers, and cover tightly.
- Freeze for at least six hours or until firm.
The condensed milk supplies sweetness and helps create a creamy no-churn base. Because it is already sweetened, do not add the full amount of granulated sugar from the churned version.
Expert Tips for the Best Results
For better results with Brownie Batter Ice Cream, pay attention to the temperature of the base and the consistency of the brownie pieces.
- Cool every component: Warm brownie batter can soften the ice cream too quickly and create uneven streaks.
- Keep the batter soft: Add milk gradually until the batter is pliable. A dry mixture can become unpleasantly hard in the freezer.
- Use small pieces: Pea-sized pieces and small soft clumps distribute better than large chunks.
- Chill before churning: A cold base helps the machine freeze the mixture efficiently.
- Layer instead of overmixing: Adding the batter in layers preserves visible ribbons and distinct pockets.
- Choose a suitable container: A shallow, freezer-safe container helps the ice cream freeze more evenly.
For a stronger brownie flavor, you can replace a small portion of the cocoa powder in the batter with melted and cooled chocolate. Keep the batter soft, however, because excess chocolate can make the pieces harder when frozen.
Common Mistakes and How to Fix Them
| Problem | Likely reason | What to do |
| Ice cream feels icy | Base was not cold enough or freezing was slow | Chill the base thoroughly and freeze promptly |
| Brownie batter is crumbly | Not enough moisture | Add milk a teaspoon at a time |
| Batter pieces become too hard | Pieces are too large or contain excess firm chocolate | Make smaller pieces and keep the mixture soft |
| Chocolate flavor tastes weak | Too little cocoa or low-flavor cocoa | Use good-quality unsweetened cocoa |
| Ice cream is too soft | It needs more freezing time | Return it to the freezer until firm |
| Brownie pieces disappear | Batter was overmixed | Fold gently and layer some pieces separately |
Variations and Substitutions
One benefit of making ice cream at home is that you can adapt the flavors to suit your preferences.
Double Chocolate Brownie Ice Cream
Add extra mini chocolate chips or finely chopped chocolate to the base during the final minute of churning. Keep the quantity moderate so the ice cream remains easy to scoop.
Brownie Batter and Cookie Dough
Add a small amount of prepared, egg-free cookie dough made with heat-treated flour. Keep the cookie dough pieces separate from the brownie batter so both flavors remain noticeable.
Espresso Chocolate Version
Dissolve ½ teaspoon of instant espresso powder into the ice cream base. Coffee complements cocoa and can make the chocolate flavor seem more pronounced without making the dessert taste strongly of coffee.
Dairy-Free Alternative
Use full-fat coconut milk and a suitable plant-based whipping cream. Results vary by product, and the coconut flavor may be noticeable. Prepare the brownie batter with a plant-based butter alternative and dairy-free milk. For another fun mix-in idea, try our Oreo Ice Cream recipe for a creamy treat packed with cookie flavor.
Lower-Sweetness Adjustment
For the churned version, you can reduce the sugar slightly, but avoid removing too much. Sugar contributes to flavor and influences how firmly ice cream freezes. Reducing it substantially can produce a harder, less scoopable dessert.
How to Store Homemade Ice Cream
Store the finished ice cream in an airtight, freezer-safe container. Press a piece of freezer-safe parchment against the surface before closing the lid to help reduce exposure to air.
For the best texture, enjoy your Brownie Batter Ice Cream within about two weeks and keep it covered in the freezer between servings.
Keep these storage tips in mind:
- Return the container to the freezer promptly after serving.
- Use a clean scoop to prevent introducing crumbs or other food particles.
- Avoid repeatedly thawing and refreezing the container.
- Discard ice cream that has been left at unsafe temperatures for an extended period.
Serving Ideas
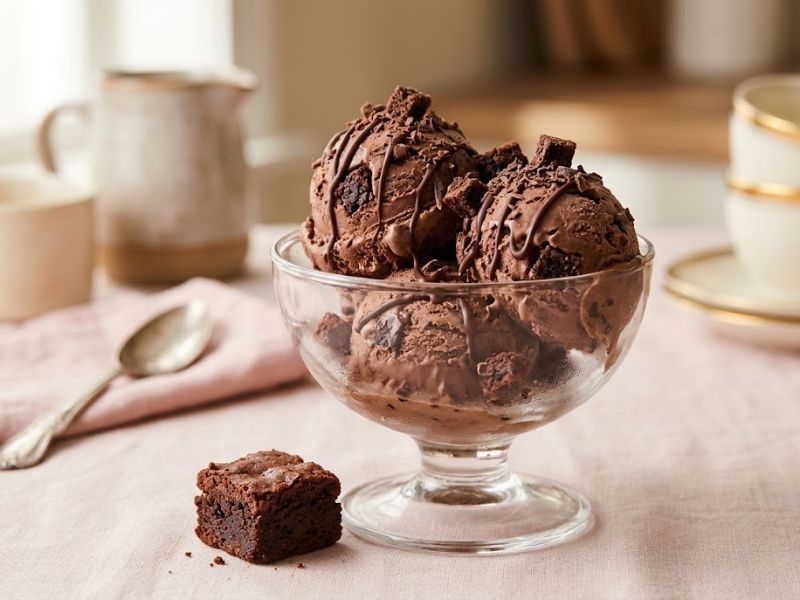
Serve the ice cream in chilled bowls or waffle cones. Since the brownie batter already supplies plenty of chocolate flavor, simple toppings often work best.
Try these combinations:
- Warm chocolate sauce and a few chocolate chips.
- Crushed chocolate sandwich cookies.
- Toasted chopped walnuts or pecans.
- Fresh strawberries or raspberries for a fruity contrast.
- A small brownie square alongside a scoop for a more indulgent dessert.
For a simple presentation, place two scoops in a small bowl and finish with a few visible brownie batter pieces. This makes an appealing dessert for family gatherings, celebrations, or a weekend treat. For another classic frozen dessert, try our homemade Vanilla Ice Cream recipe.
Frequently Asked Questions
1. Does brownie batter ice cream contain raw eggs?
This recipe does not use eggs in the brownie batter or ice cream base. However, flour can also carry harmful bacteria, so it must be properly heat-treated before it is used in uncooked batter.
2. Can I make it without an ice cream machine?
Yes. Use the no-churn method with whipped heavy cream and sweetened condensed milk. Freeze the mixture until firm, allowing at least six hours.
3. Why is my brownie batter hard after freezing?
The batter may contain too little moisture or oversized pieces. Make a soft paste with enough milk and divide it into small pieces before adding it to the ice cream.
4. Can I use boxed brownie mix?
Only use a product specifically labeled or prepared for safe consumption without baking. Ordinary boxed brownie mix is not automatically safe to eat uncooked, and its flour or other ingredients may require cooking.
5. How long does homemade brownie batter ice cream take to freeze?
It generally needs four to six hours after churning, although overnight freezing provides a firmer texture. The no-churn version may need six hours or longer, depending on the container and freezer.
Final Thoughts
Homemade Brownie Batter Ice Cream brings together a creamy chocolate base and soft, fudgy pieces in a dessert that is easy to customize. Preparing the edible batter safely, chilling the ingredients thoroughly, and layering the mix-ins carefully are the most important steps for a successful result.
Whether you use an ice cream machine or the no-churn method, this recipe offers a satisfying way to enjoy brownie flavor in every scoop. Serve it on its own or add a simple topping for a chocolate dessert worth making again.

I am an SEO Specialist with 2 years of experience in keyword research, on-page SEO, content optimization, and WordPress SEO. At Desserts Avenue, I focus on creating SEO-friendly content, improving search visibility, and helping readers find valuable dessert recipes and guides through organic search.