
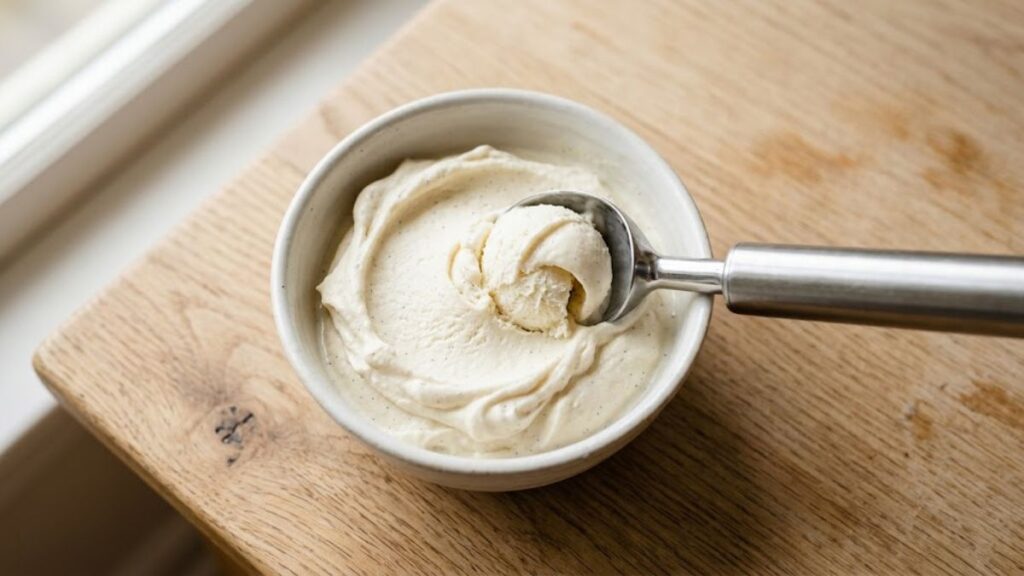
Ever crave a cold, creamy scoop of ice cream, only to remember you do not own an ice cream maker? I have been there, and thankfully, you do not need a bulky machine to make a batch at home. This ice cream without an ice cream maker uses simple ingredients and everyday kitchen tools.
In this guide, you will get a creamy 3-ingredient recipe that needs no churning machine, plus step-by-step instructions for two other homemade methods, so you can choose what fits your kitchen. I will also show you how to avoid common problems like icy texture, hard scoops, and weak flavor. With heavy whipping cream, sweetened condensed milk, and vanilla extract, you can make smooth, scoopable ice cream with very little effort and no fuss.
How Ice Cream Without an Ice Cream Maker Works
An ice cream maker does two jobs at once: it freezes the mixture and whips air into it. Constant churning keeps large ice crystals from forming, which gives ice cream its smooth, creamy texture. Without a machine, you can create a similar effect with the right ingredients and technique.
For this homemade ice cream without a machine, heavy whipping cream provides the air. When you whip it to stiff peaks, it becomes light and fluffy instead of staying liquid. Sweetened condensed milk adds sweetness and enough richness to keep the mixture soft after freezing. Fold the two together gently, and you have a thick base ready for the freezer.
Here is a useful tip: the fat in cream is what holds the air bubbles in place. That is why low-fat substitutes tend to turn icy, and why a gentle hand when folding matters more than any fancy tool.
Ingredients and Tools for Ice Cream Without an Ice Cream Maker
For 6 servings, you only need three main ingredients.
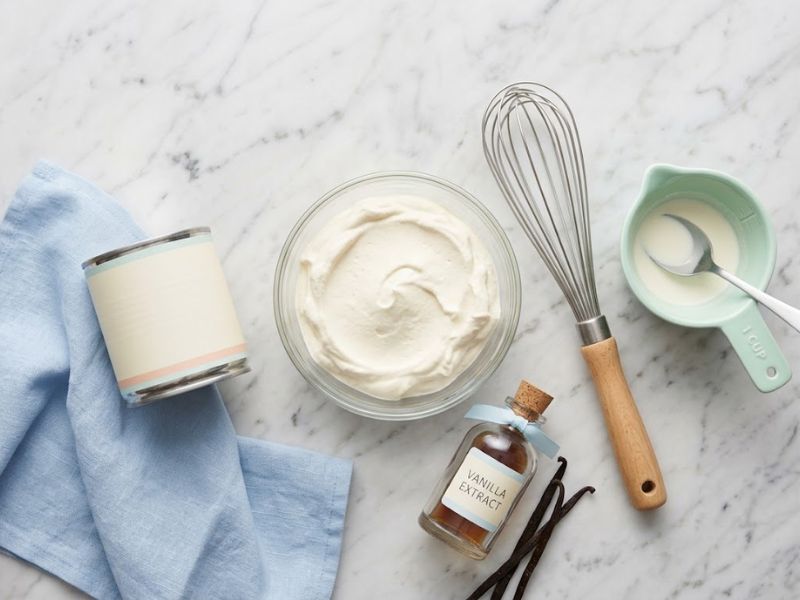
Ingredients
- 2 cups heavy whipping cream: gives the ice cream its airy, creamy base. (Substitute: any cold cream with at least 35% fat.)
- 1 can (14 oz) sweetened condensed milk: adds sweetness and helps keep the mixture soft. (No direct substitute works quite the same.)
- 2 teaspoons vanilla extract: adds a warm vanilla flavor. (Substitute: 1 teaspoon vanilla bean paste.)
Tools
- Large mixing bowl: gives the cream enough room to whip without splashing.
- Hand mixer or whisk: a hand mixer makes stiff peaks much faster, while a whisk works with extra effort.
- 9 × 5-inch loaf pan: creates a practical depth for even freezing and easy scooping.
- Parchment paper and an airtight container: protect the surface from freezer odors and ice crystals.
How to Make Ice Cream Without an Ice Cream Maker (Step by Step)
1. Chill the Bowl and Beaters
Place your mixing bowl and hand-mixer beaters in the refrigerator for 10 minutes before starting. Cold equipment helps the cream whip faster and hold more air. A warm bowl can leave the cream thin.
2. Whip the Cream to Stiff Peaks
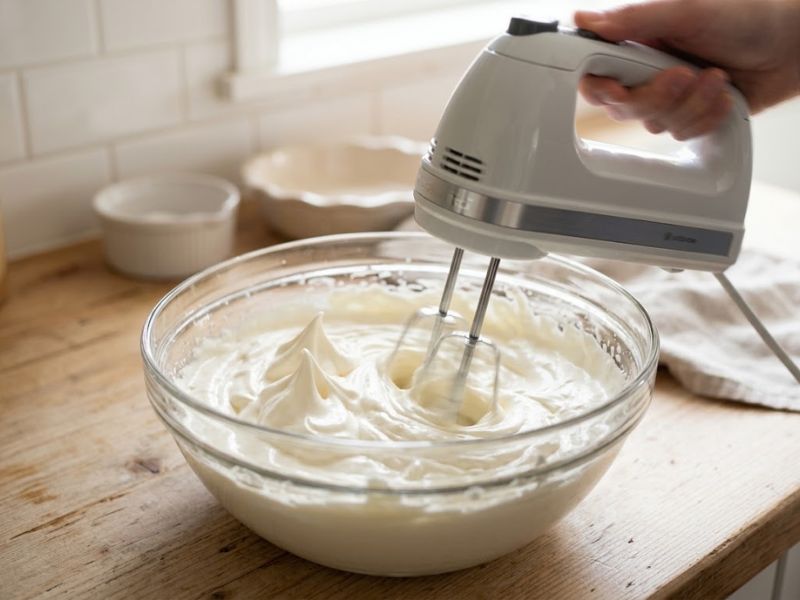
Pour 2 cups of cold heavy whipping cream into the chilled bowl and beat on medium-high for 3 to 4 minutes, until stiff peaks form and hold their shape. Stop as soon as the cream looks thick and fluffy. Over-whipping can make it grainy and start turning it into butter.
3. Fold in Condensed Milk and Vanilla
Add 14 oz of sweetened condensed milk and 2 teaspoons of vanilla extract to the whipped cream. Fold gently for 30 to 45 seconds until evenly combined. Do not stir aggressively, or you will knock out the air that creates the light, creamy texture.
4. Transfer to a Loaf Pan
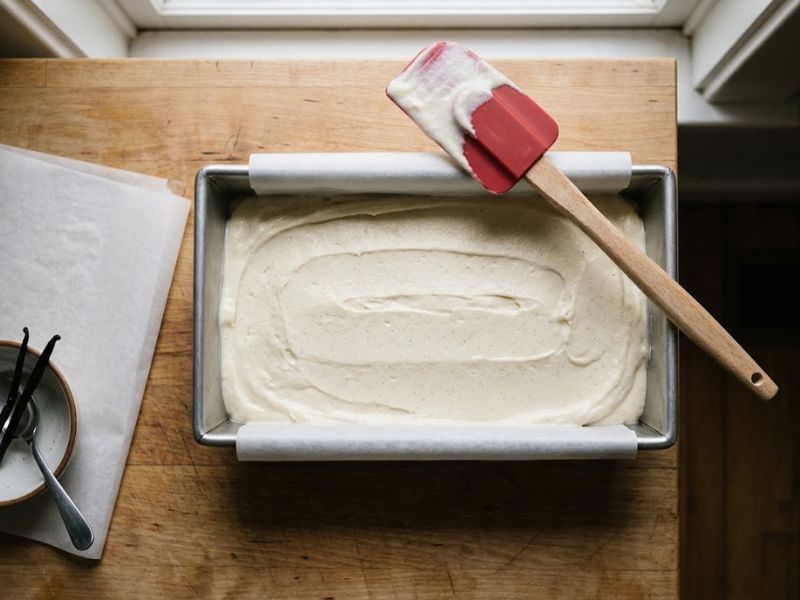
Spread the mixture evenly into a 9 × 5-inch loaf pan and smooth the surface with a spatula. Work quickly so the mixture stays cold, and avoid leaving large air pockets or an uneven layer that can freeze at different rates.
5. Freeze for 6 Hours
Press a sheet of parchment paper directly onto the surface, cover the pan tightly, and freeze for at least 6 hours, preferably overnight. The center should feel firm when gently pressed. Freezing for too little time leaves the middle too soft to scoop.
3 Methods to Make Ice Cream Without a Machine Compared
You can make ice cream without an ice cream maker in several ways. Each method creates a slightly different texture and needs a different amount of hands-on work.
| Method | Time | Texture | Difficulty | Best For |
| No-churn whipped cream method | 15 min + 6 hr freeze | Smooth, creamy, scoopable | Easy | Beginners and classic homemade ice cream |
| Blender method | 10 min + 4–6 hr freeze | Dense and creamy | Easy | Small batches and fruit flavors |
| Bag shake method | 15–20 min | Soft and slightly icy | Moderate | A single serving without a freezer container |
For most home cooks, I recommend the no-churn whipped cream method because it gives the best balance of simplicity, creamy texture, and reliable results. The whipped cream adds air, while sweetened condensed milk provides sweetness and richness without a cooked custard base. If you are making your first batch, start with no-churn and adjust flavors once you are comfortable. Here is how the other two methods work.
Blender Method (Quick Fruit Ice Cream)
Blend 2 cups of frozen mango or strawberry chunks, ½ cup of cold heavy cream, ¼ cup of sweetened condensed milk, and 1 teaspoon of vanilla for about 1 minute, until thick and smooth. If mango is your favorite, try this mango ice cream for a fruitier, no-churn version. Serve right away for a soft-serve texture, or freeze for 4 to 6 hours for a firmer scoop. The result is denser than the whipped cream method, but it is very quick.
Bag Shake Method (Single Serving)
Seal ½ cup of whole milk or half-and-half, 1 tablespoon of sugar, and ¼ teaspoon of vanilla in a small zip bag. Place it inside a larger bag with 3 cups of ice and ½ cup of coarse salt. Seal both bags, wrap them in a towel, and shake for 10 to 15 minutes until the mixture thickens. It is fun for kids, but it takes more effort and can produce more ice crystals.
Easy Flavor Variations
Once your ice cream without an ice cream maker base is ready, it is easy to turn it into different flavors. Add mix-ins gently so the whipped cream stays light and airy.
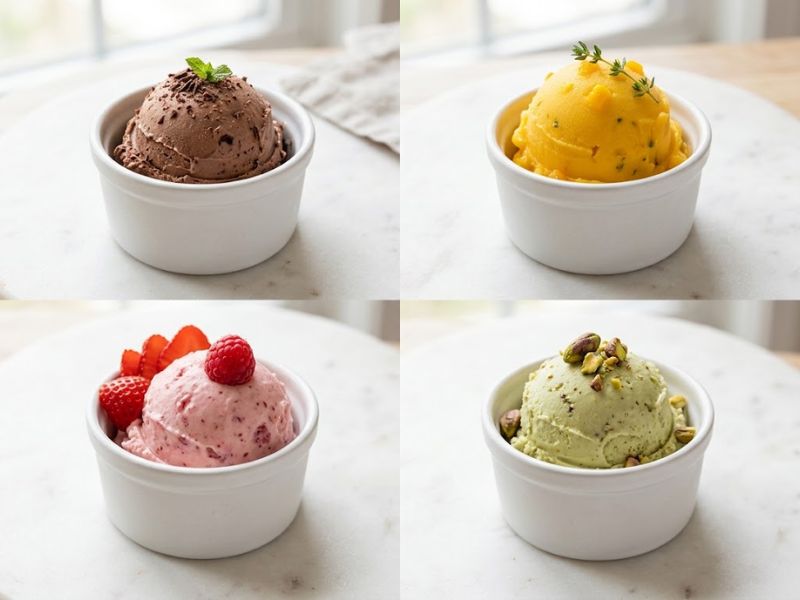
- Chocolate: Add 2 tbsp of unsweetened cocoa powder to the condensed milk and vanilla, then fold into the whipped cream. For a richer version, check out this chocolate ice cream recipe.
- Mango: Mix ½ cup of mango purée into the condensed milk before folding it into the whipped cream.
- Strawberry: Add ½ cup of finely chopped strawberries after combining the condensed milk and cream. Pat the berries dry first.
- Coffee: Stir 2 tsp of instant espresso powder into the condensed milk before adding it to the whipped cream.
- Biscuit or cookie: Fold in ½ cup of crushed chocolate or vanilla cookies after the base is fully combined, saving some for the top.
- Pistachio: Add ⅓ cup of finely chopped pistachios and ½ tsp of almond extract after folding in the condensed milk.
For fruit flavors, use thick purée rather than watery juice. Extra liquid increases ice crystals and makes the finished ice cream less creamy.
Common Mistakes and Tips for Creamy Homemade Ice Cream
Ice crystals form when water in the mixture freezes into large pieces instead of staying dispersed through the creamy base. Temperature changes, excess moisture, and too much air exposure can all make those crystals larger, giving homemade ice cream a rough, icy texture.
- Over-whipping the cream: Stop when you see stiff peaks that hold their shape. Over-whipping makes the cream grainy and reduces the smooth texture you want.
- Adding watery mix-ins: Fresh fruit and juices release water as they freeze. Use thick purée, or pat fruit dry before folding it in.
- Using the wrong container: Choose a shallow loaf pan or freezer-safe container with an even layer. A very deep container makes the center freeze slowly.
- Not covering the surface: Parchment paper pressed directly onto the ice cream limits air exposure and helps prevent surface ice crystals.
- Using too little sugar: Keep the recommended amount of sweetened condensed milk. Sugar lowers the freezing point, which keeps the ice cream softer and more scoopable.
- Opening the freezer often: Repeated temperature changes encourage larger ice crystals, so keep the freezer closed while the ice cream sets.
How to Store and Serve
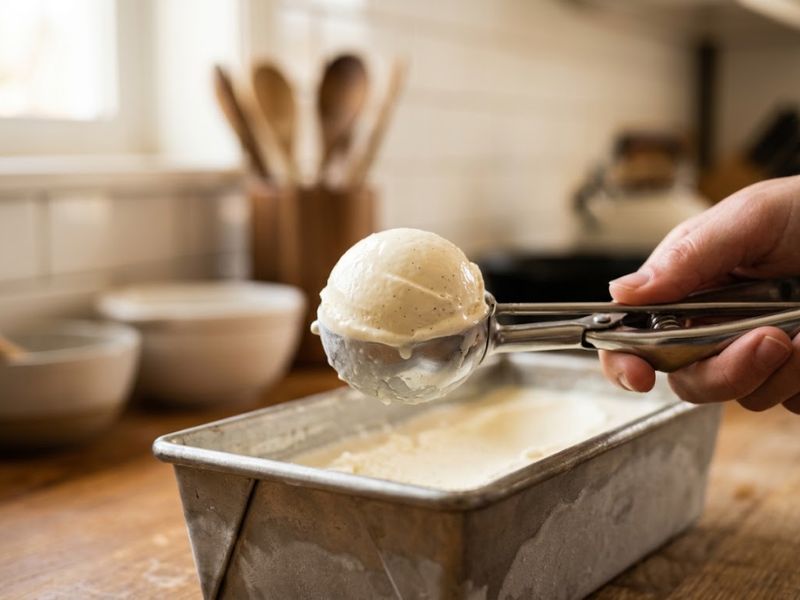
Proper storage keeps your ice cream without an ice cream maker creamy and protects it from freezer odors. Keep it tightly covered and return it to the freezer soon after serving.
| Storage Method | How Long | Tip |
| Loaf pan with parchment | Up to 1 week | Press parchment directly onto the surface, then cover the pan tightly. |
| Airtight container | Up to 2 weeks | Use a shallow freezer-safe container and leave little empty space above the ice cream. |
| Freezer bag | Up to 1 week | Press out as much air as possible before sealing, then lay it flat in the freezer. |
Before scooping, let the container sit at room temperature for 5 to 10 minutes. Dip your scoop in warm water, wipe it dry, and scoop for smoother, easier portions.
FAQs
Can I make ice cream without an ice cream maker and without condensed milk?
Yes. Whip 2 cups of cold heavy cream to stiff peaks, then fold in 1 cup of powdered sugar and 1 teaspoon of vanilla. It freezes slightly firmer than the condensed milk version, so soften it 10 minutes before scooping. For the classic base, see our vanilla ice cream recipe.
Why is my homemade ice cream icy?
Iciness comes from large ice crystals. The usual causes are under-whipped cream, too little sugar, or a freezer that keeps opening. Whip to firm peaks, cover the surface with parchment, and keep the tub at the back of the freezer.
Can I use milk instead of cream?
Not in the basic no-churn recipe. Milk has too little fat to whip into stiff peaks, so the result turns hard and icy. If you only have milk, use the blender method with full-fat milk powder or evaporated milk.
How long does no-churn ice cream last in the freezer?
It stays at its best for 1 to 2 weeks when tightly covered, depending on how you store it. It is still safe for up to a month, but after that ice crystals and freezer odors slowly spoil the texture and flavor.
Conclusion
Making ice cream without an ice cream maker is much easier than most people expect. All you need is cold heavy cream whipped to stiff peaks, sweetened condensed milk, and a little patience in the freezer. Get those three things right and you will have a creamy, scoopable dessert that rivals store-bought tubs, with no special equipment and no churning.
Start with the classic vanilla, then experiment with mango, chocolate, or your favorite biscuit crumble once you feel confident. Every batch teaches you something new about texture and sweetness.

I am an SEO Specialist with 2 years of experience in keyword research, on-page SEO, content optimization, and WordPress SEO. At Desserts Avenue, I focus on creating SEO-friendly content, improving search visibility, and helping readers find valuable dessert recipes and guides through organic search.